Mockups are a great way to present your jewelry designs in a realistic setting. In Photoshop, Smart Objects allows you to embed your design into a mockup seamlessly.
Here’s a step-by-step guide on how to work with mockups using Smart Objects in Photoshop.
Step 1: Open the Mockup File
1. Launch Photoshop and open the mockup file (PSD format).
2. Ensure the Layers panel is visible. If not, go to Window > Layers to open it.
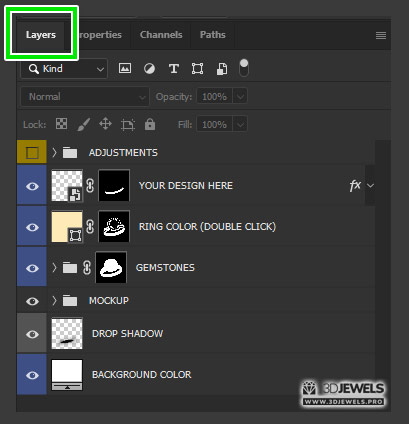
Step 2: Identify the Smart Object Layer
1. In the Layers panel, look for the Smart Object layer. It has a thumbnail with a small icon at the bottom right corner, indicating it is a Smart Object.
2. This layer is named “YOUR DESIGN HERE”.
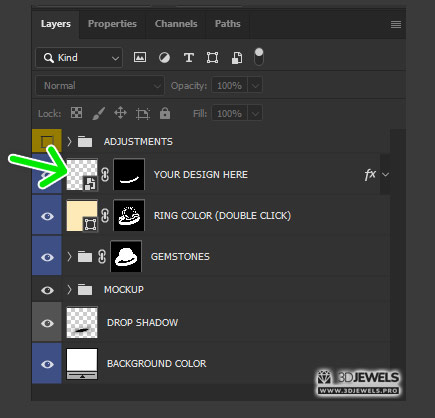
Step 3: Edit the Smart Object
1. Double-click on the Smart Object thumbnail. This action will open the Smart Object in a new Photoshop window.
2. In the new window, you will see a placeholder for your design, often a sample image or text like “YOUR DESIGN HERE.”
Step 4: Place Your Design
1. Import your design by dragging and dropping it into the Smart Object window or using File > Place Embedded.
2. Resize and position your design as needed using the Free Transform tool (Ctrl+T or Cmd+T on Mac).
3. Once satisfied with the placement, hide or delete the placeholder layer if necessary.
Step 5: Save and Update
1. Save the changes in the Smart Object window by going to File > Save or pressing Ctrl+S (Cmd+S on Mac).
2. Close the Smart Object window (File > Close or Ctrl+W/Cmd+W).
3. Return to the original mockup file, and you will see your design automatically updated in the mockup.
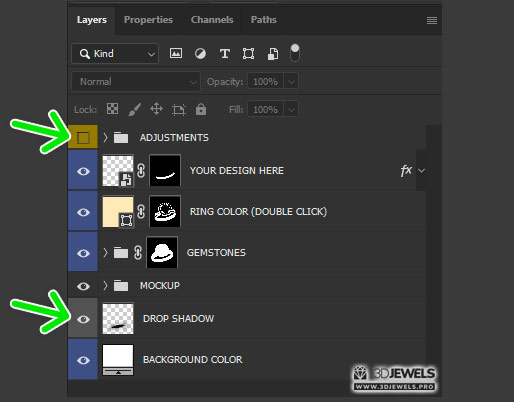
Step 6: Adjust the Mockup (Optional)
1. Depending on the mockup, you might have options to adjust shadows, reflections, or other elements to better integrate your design.
2. Explore the Layers panel for adjustment layers or additional Smart Objects you can modify.
Step 7: Save and Export Your Final Mockup
1. Once you are satisfied with how your design looks within the mockup, save the PSD file for future edits.
2. To export the final image, go to File > Export > Export As and choose your desired format (JPEG, PNG, etc.).